

Unkey uses Stripe for all billing. Each workspace has its own subscription, payment method, and invoices. You manage billing from Settings > Billing in the dashboard.
Plans#
Unkey offers multiple plan tiers. Every workspace starts on the Free plan. Paid plans unlock higher limits, longer data retention, and team collaboration.
| Capability | Free plan | Paid plans |
|---|---|---|
| API requests per month | 150,000 | Varies by plan |
| Log retention | 7 days | Varies by plan |
| Audit log retention | 30 days | Varies by plan |
| Team members | Not available | Included |
Visit unkey.com/pricing for the latest plan details and pricing.
Add a payment method#
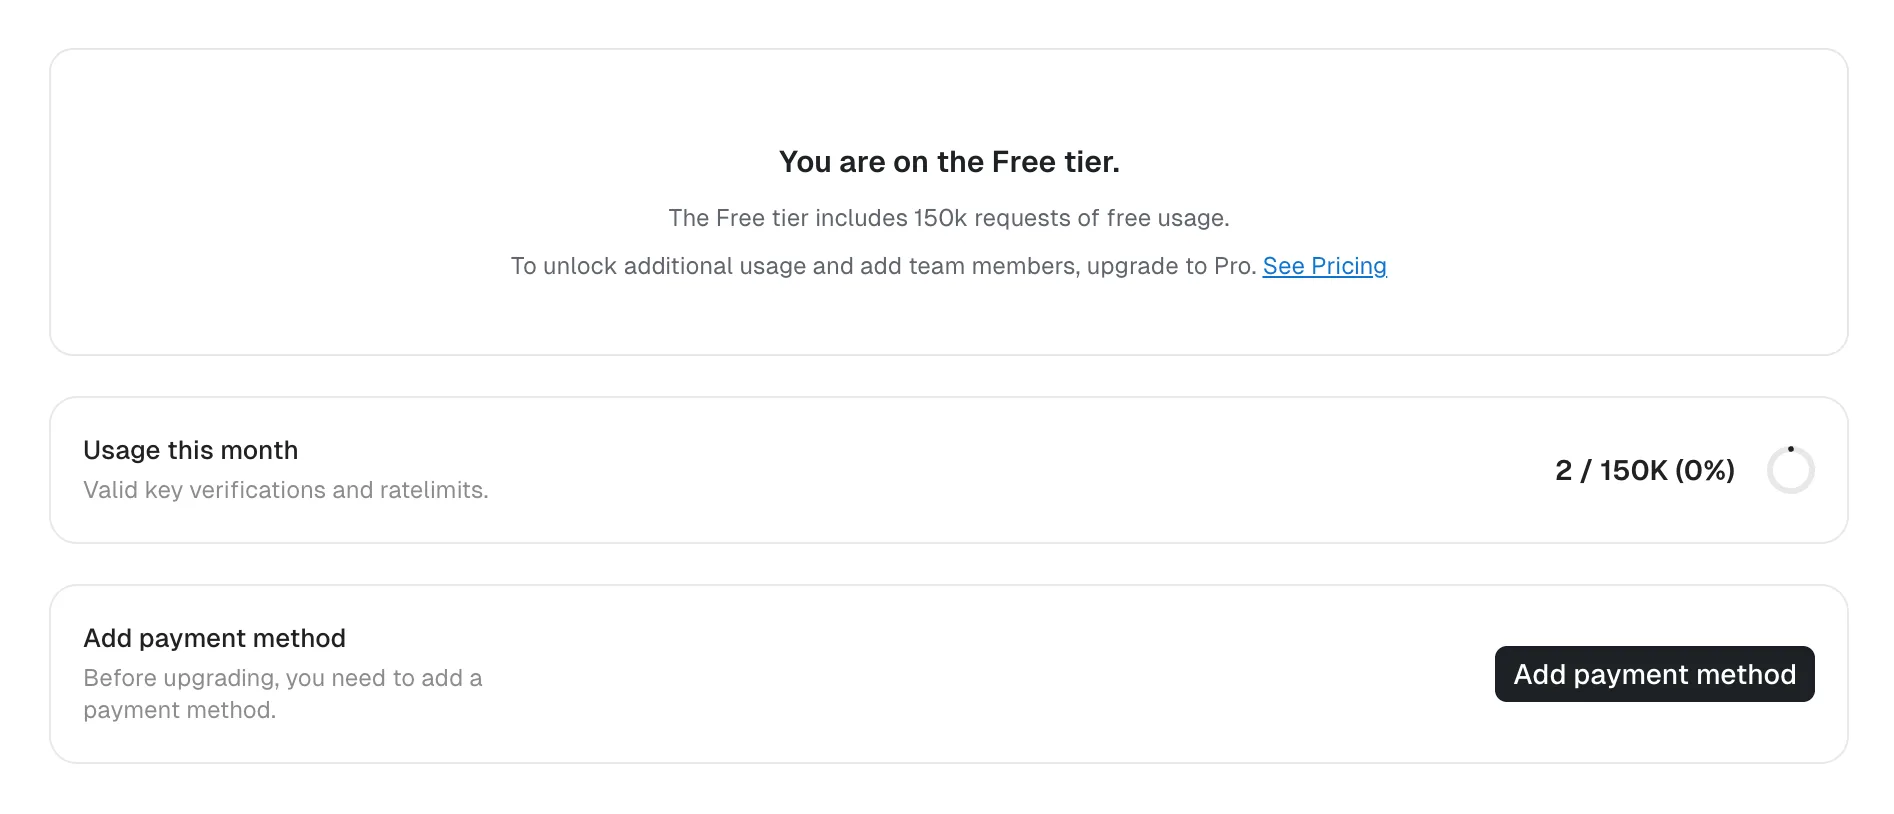
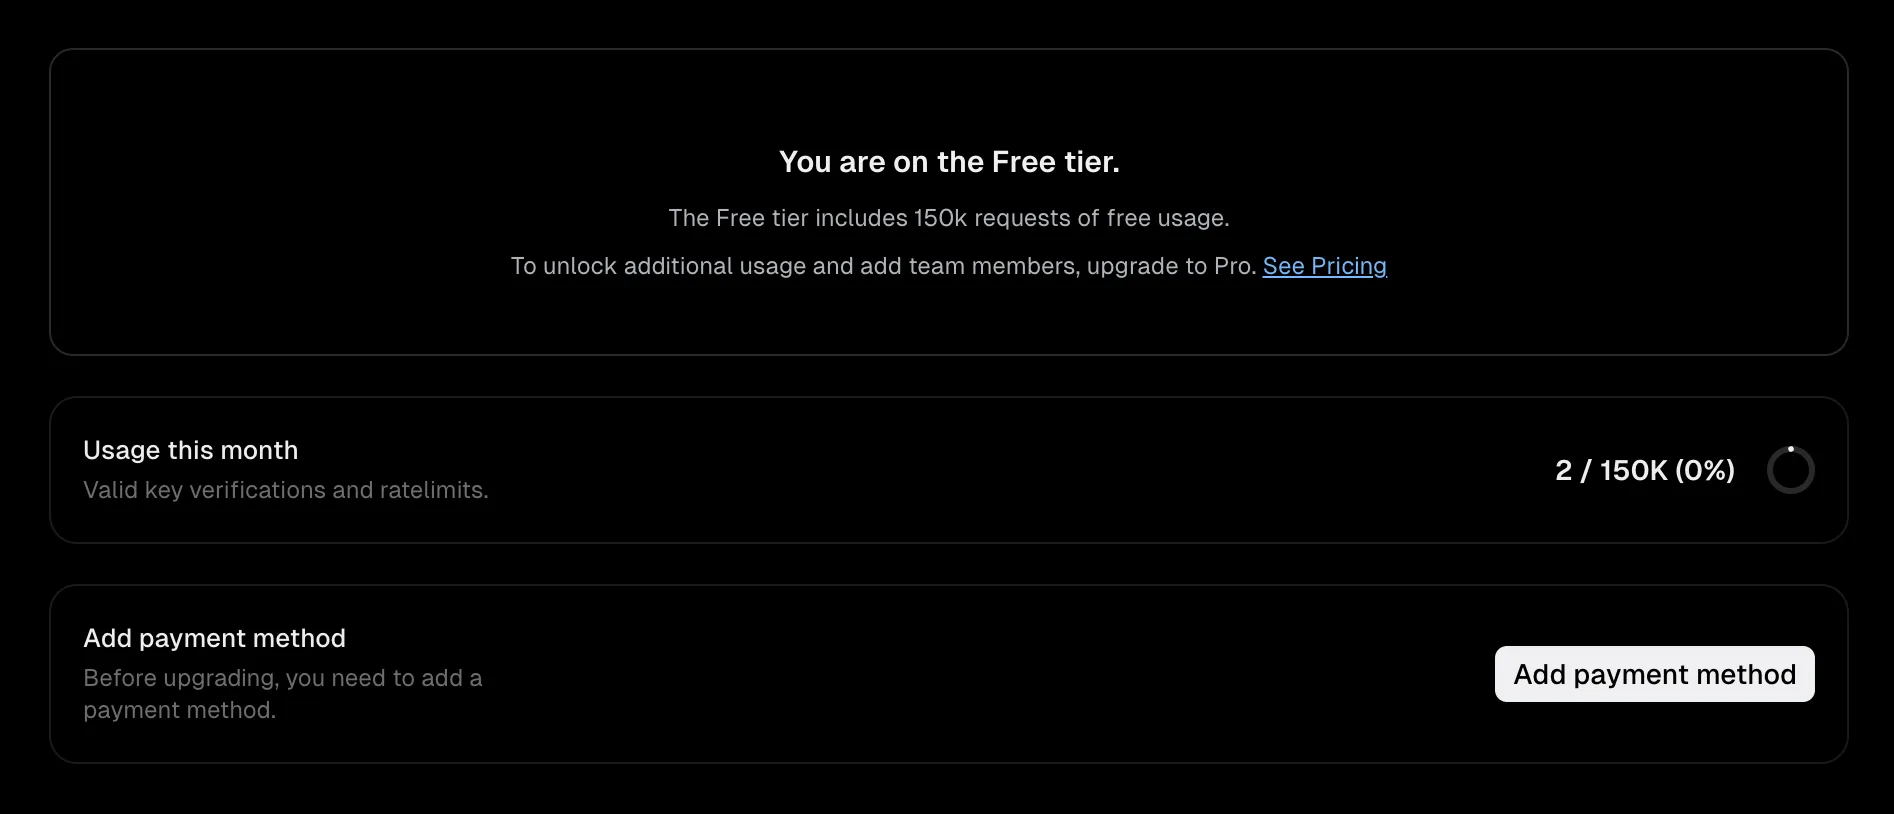
Before upgrading, you must add a payment method.
- Navigate to Settings > Billing.
- Click Add payment method.
- Complete the Stripe checkout form with your card details and billing address.
- After saving, you return to the billing page where you can select a plan.
Upgrade your plan#
- Navigate to Settings > Billing.
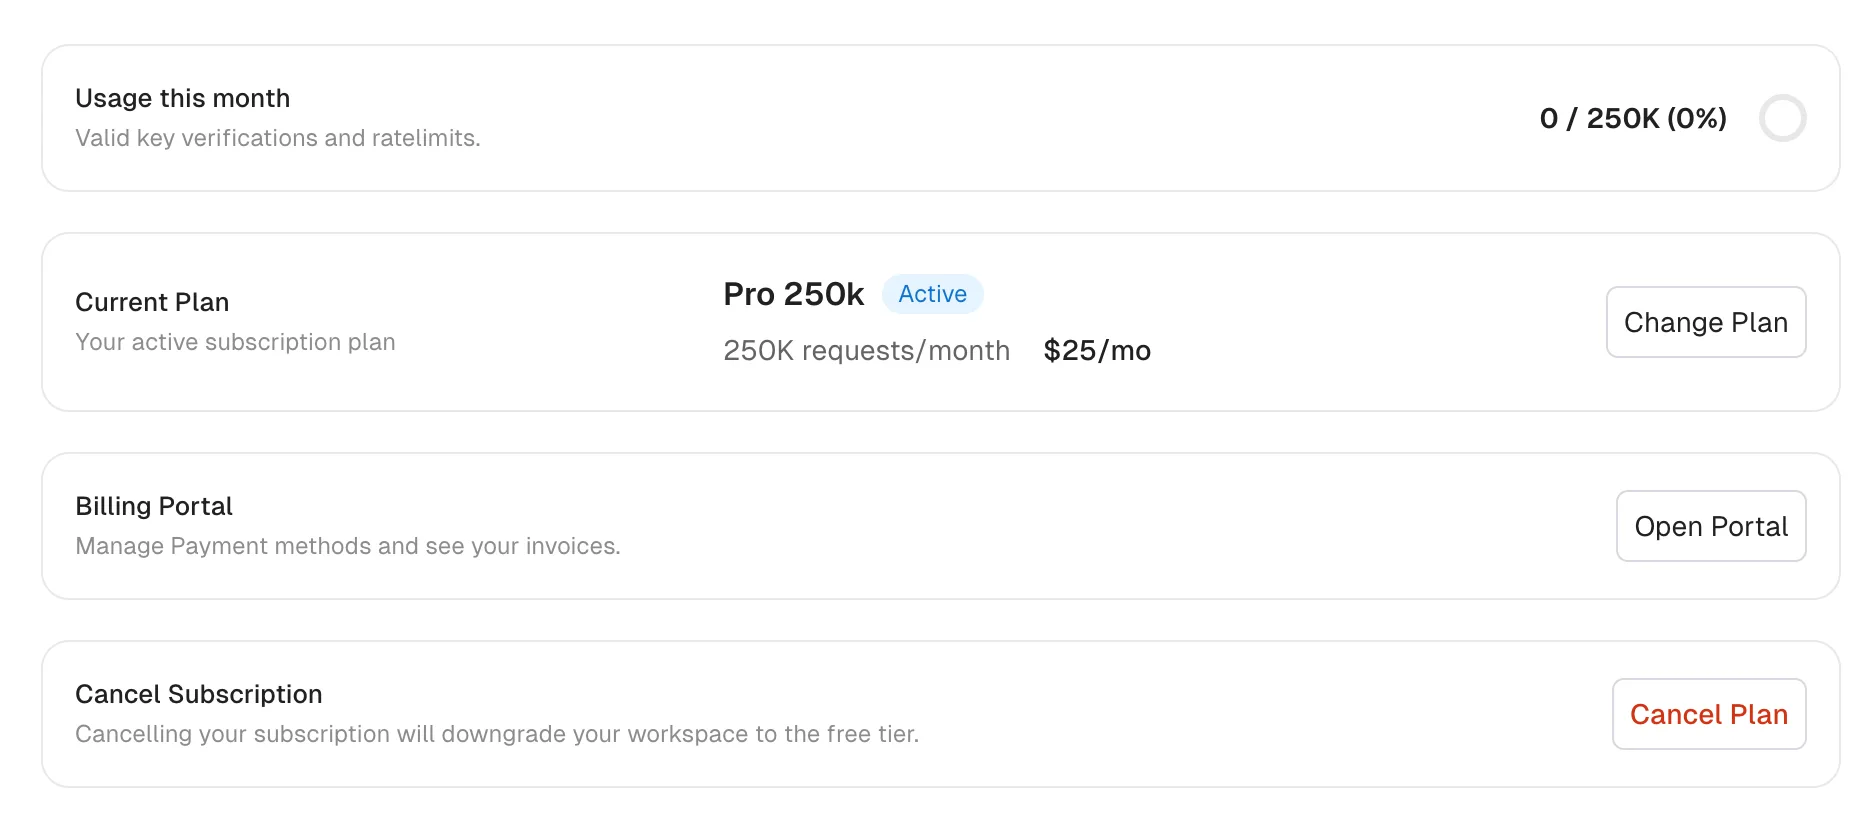
- Click Change plan on the current plan card.
- Select a plan from the available options. Each plan shows its monthly price and included request quota.
- Confirm the selection.
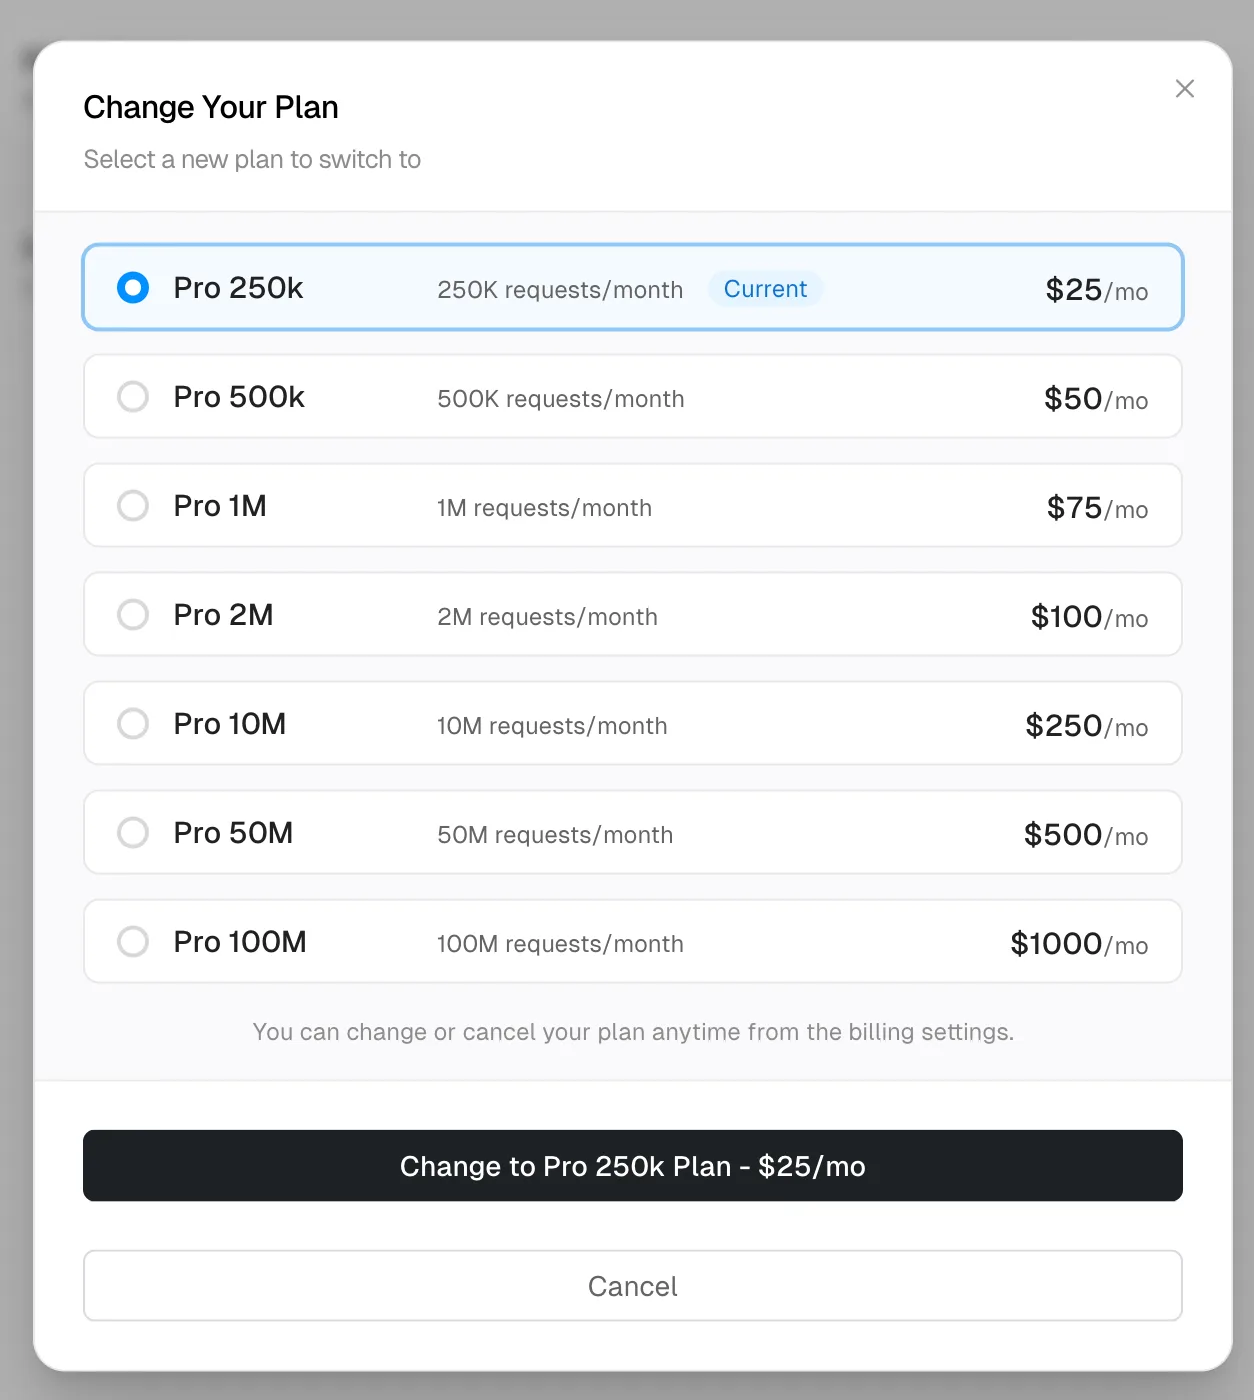
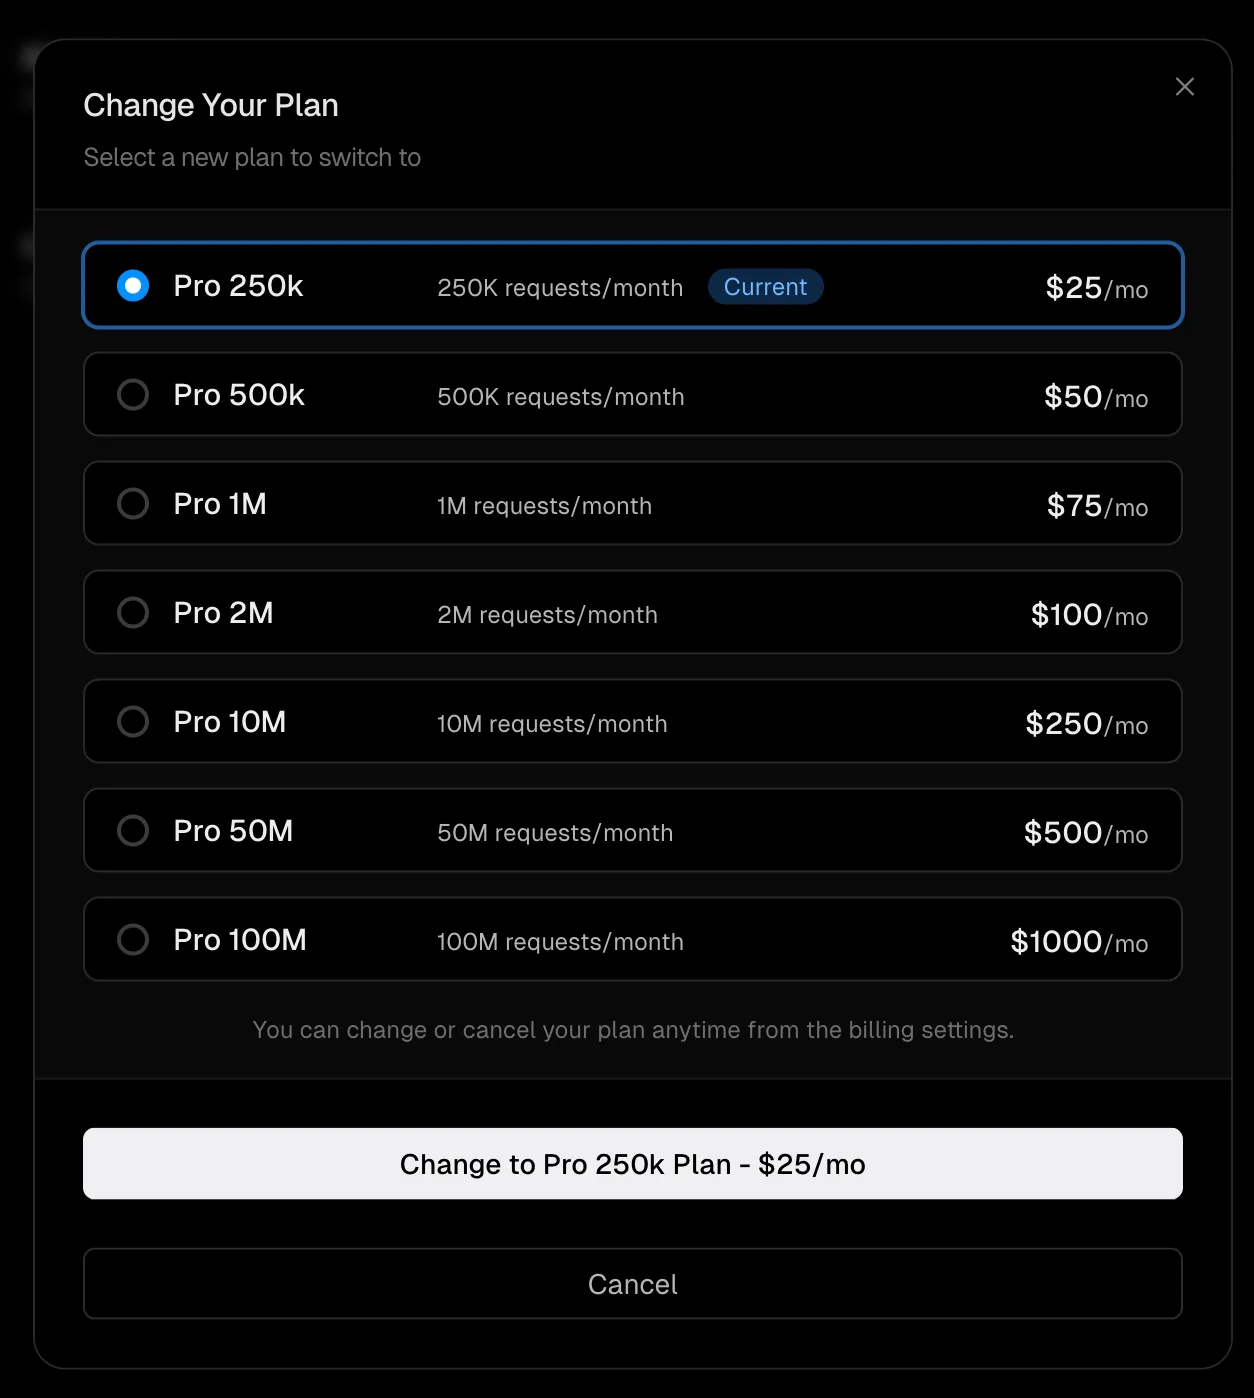
Unkey prorates charges when you upgrade mid-cycle. The difference is applied to your next invoice.
Downgrade or cancel#
- Navigate to Settings > Billing.
- Click Cancel plan at the bottom of the billing page.
- Confirm the cancellation.
Cancellation takes effect at the end of your current billing period. Your workspace continues to operate with paid plan limits until that date. After the period ends, the workspace reverts to Free plan defaults.
If you cancel by mistake, you can resume your subscription from the same billing page before the period ends.
Once subscribed, the billing page shows your current plan, usage, and options to change your plan, open the Stripe billing portal, or cancel.
Billing portal#
The billing portal lets you manage payment methods, view invoices, and update billing details through Stripe.
- Navigate to Settings > Billing.
- Click Open Portal.
The portal opens in a new page hosted by Stripe. From there you can:
- Update or replace your payment method
- Download past invoices
- Update billing contact information
Usage tracking#
The billing page and sidebar display your workspace's usage as a percentage of your monthly request quota. This combines key verifications and rate limit operations for the current billing month.
Unkey sends email notifications when your workspace approaches or exceeds its quota.
Compute usage#
Compute bills for what your workloads actually use: CPU, memory, disk, egress, and the active keys verified through the Compute gateway. Your plan fee comes with usage credits worth the same amount, so the fee already covers your first slice of usage. Anything past those credits is added to your invoice at the end of the month.
The Compute card on the billing page shows:
- Usage this period: what you have spent on usage so far this month. This is the number your spend budget is measured against.
- Per-meter quantities: CPU hours, memory GiB-hours, egress GiB, disk GiB-hours, and active keys.
- Spend budget (optional): your monthly usage-spend cap and its alert thresholds.
Credits refresh at the start of every billing period. If you upgrade partway through a period, you get a prorated top-up to that period's credits.
Spend budget#
Set a monthly spend budget under Settings > Billing on the Compute card.
| Setting | Behavior |
|---|---|
| Monthly budget | Whole dollars. Leave empty for no budget. |
| Email alerts | Sent at 50%, 75%, and 100% of the budget. |
| Stop workloads at the budget | When enabled, your running Compute workloads stop once usage spend reaches the budget. |
The budget caps your total usage spend, credits included. A 100 of usage, not $100 on top of the credits your plan already includes. The meter on the billing page tracks your spend against the budget so you can see how close you are.
While Compute is paused#
If you turned on Stop workloads and hit your budget, Compute pauses and the billing page shows a Compute paused banner. It starts back up on its own as soon as you:
- Raise the budget above your current spend,
- Remove the budget,
- Turn off Stop workloads at the budget, or
- Reach the next billing period, when usage resets.
Resume is automatic and usually takes about a minute.
Cancel Compute#
Canceling Compute stops your deployments right away and removes the plan. Whatever usage you ran up until then still shows on your final invoice.