

Let's look at an example app for allowing your users to manage domains.
As part of the API, your users will be able to perform CRUD operations against domains or individual dns records.
Creating permissions#
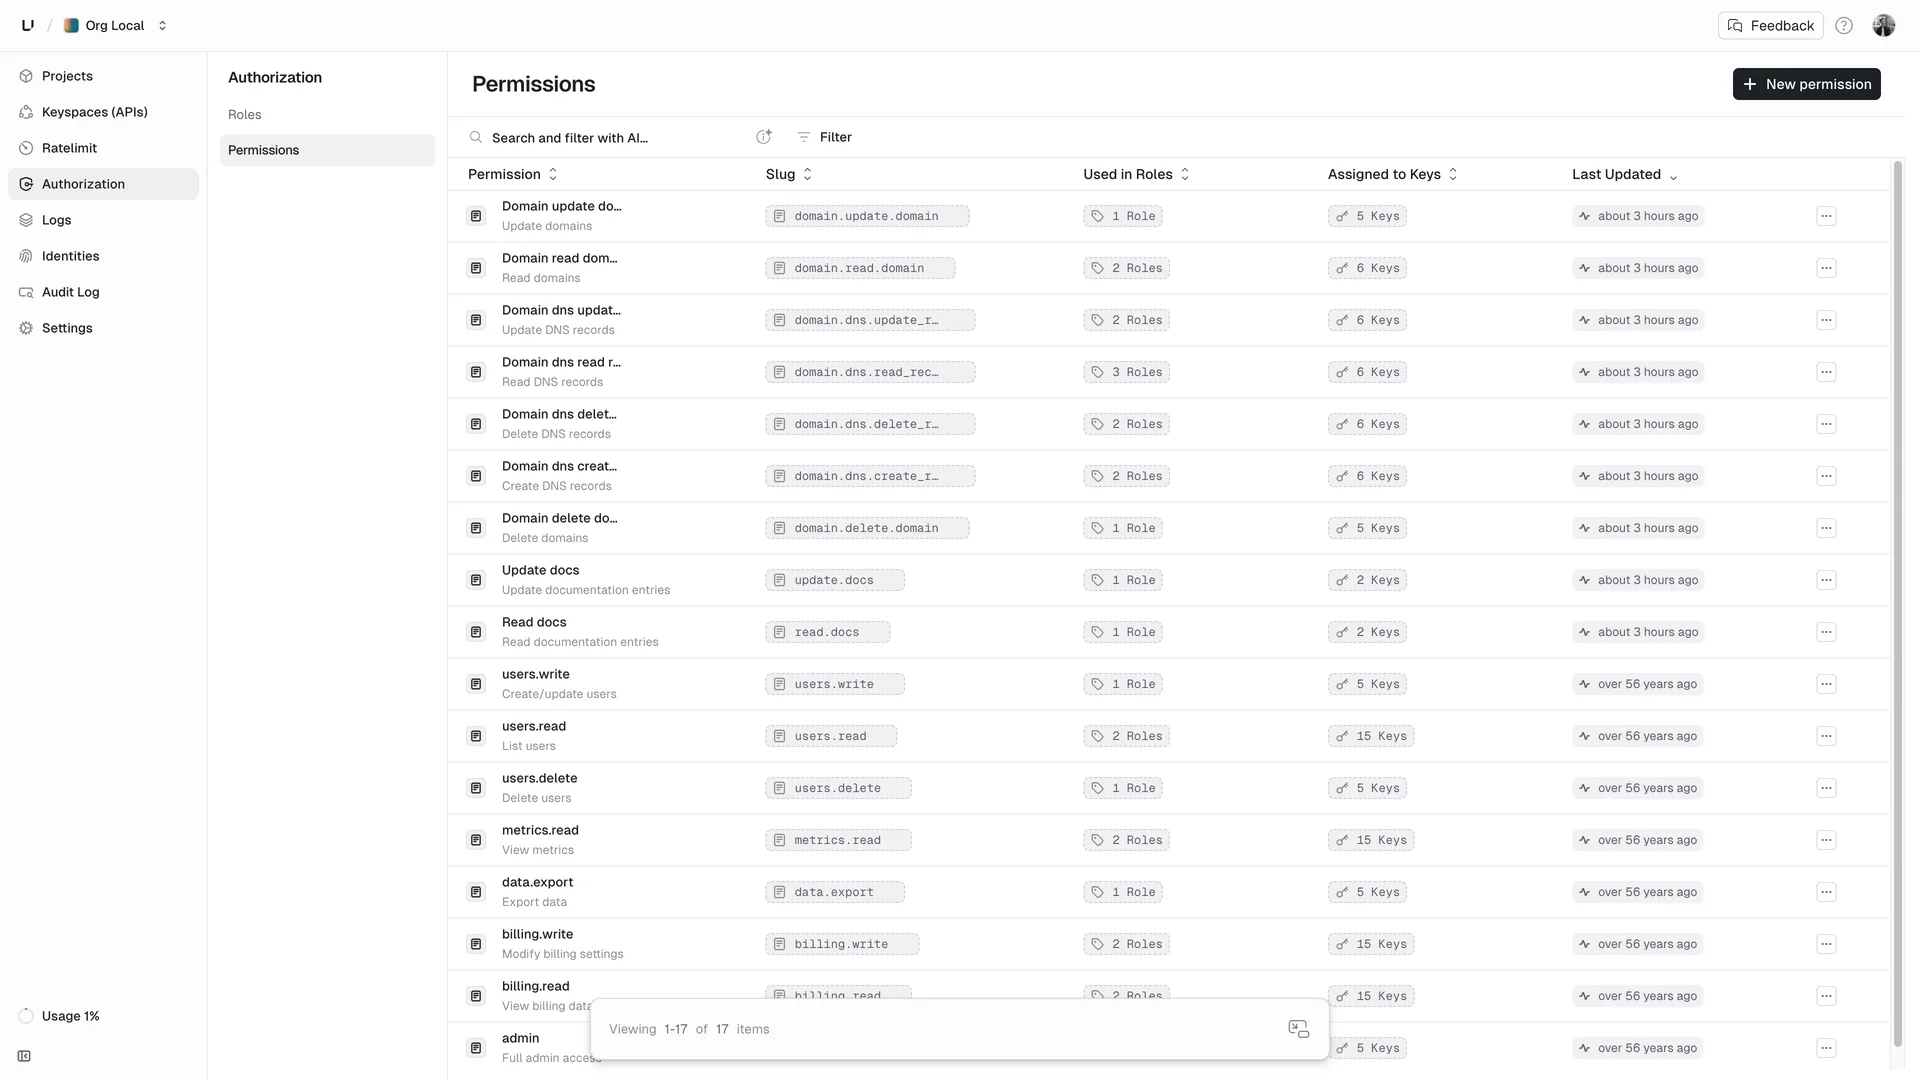
Users of our app can have the following permissions:
domain.delete_domaindomain.dns.create_recorddomain.dns.read_recorddomain.dns.update_recorddomain.dns.delete_recorddomain.create_domaindomain.read_domaindomain.update_domain
Sign into your dashboard. - For Roles, navigate to the Authorization/Roles. Default when navigating to Authorization. - For Permissions, navigate to the Authorization/Permissions.
Create them in your Authorization/Permissions page. Use the button in the upper right. + New permission
Creating roles#
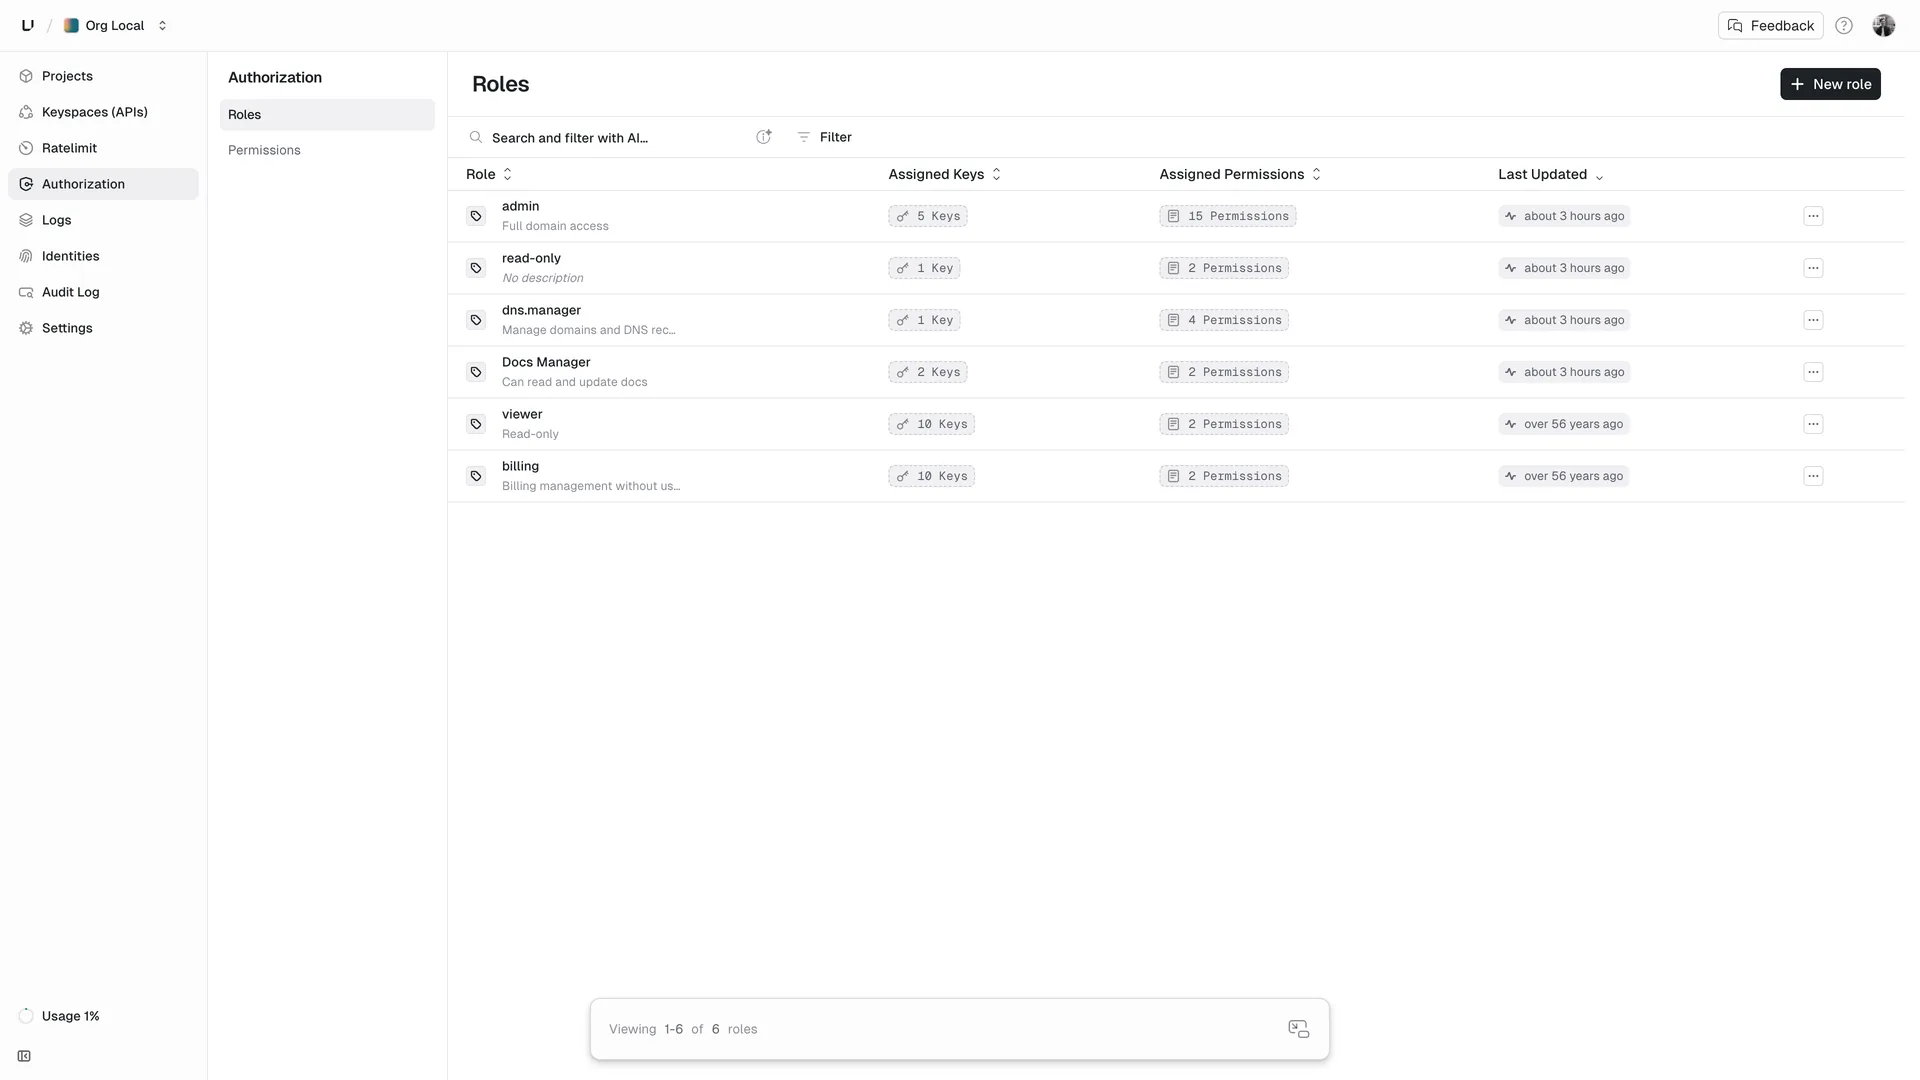
We define the following roles:
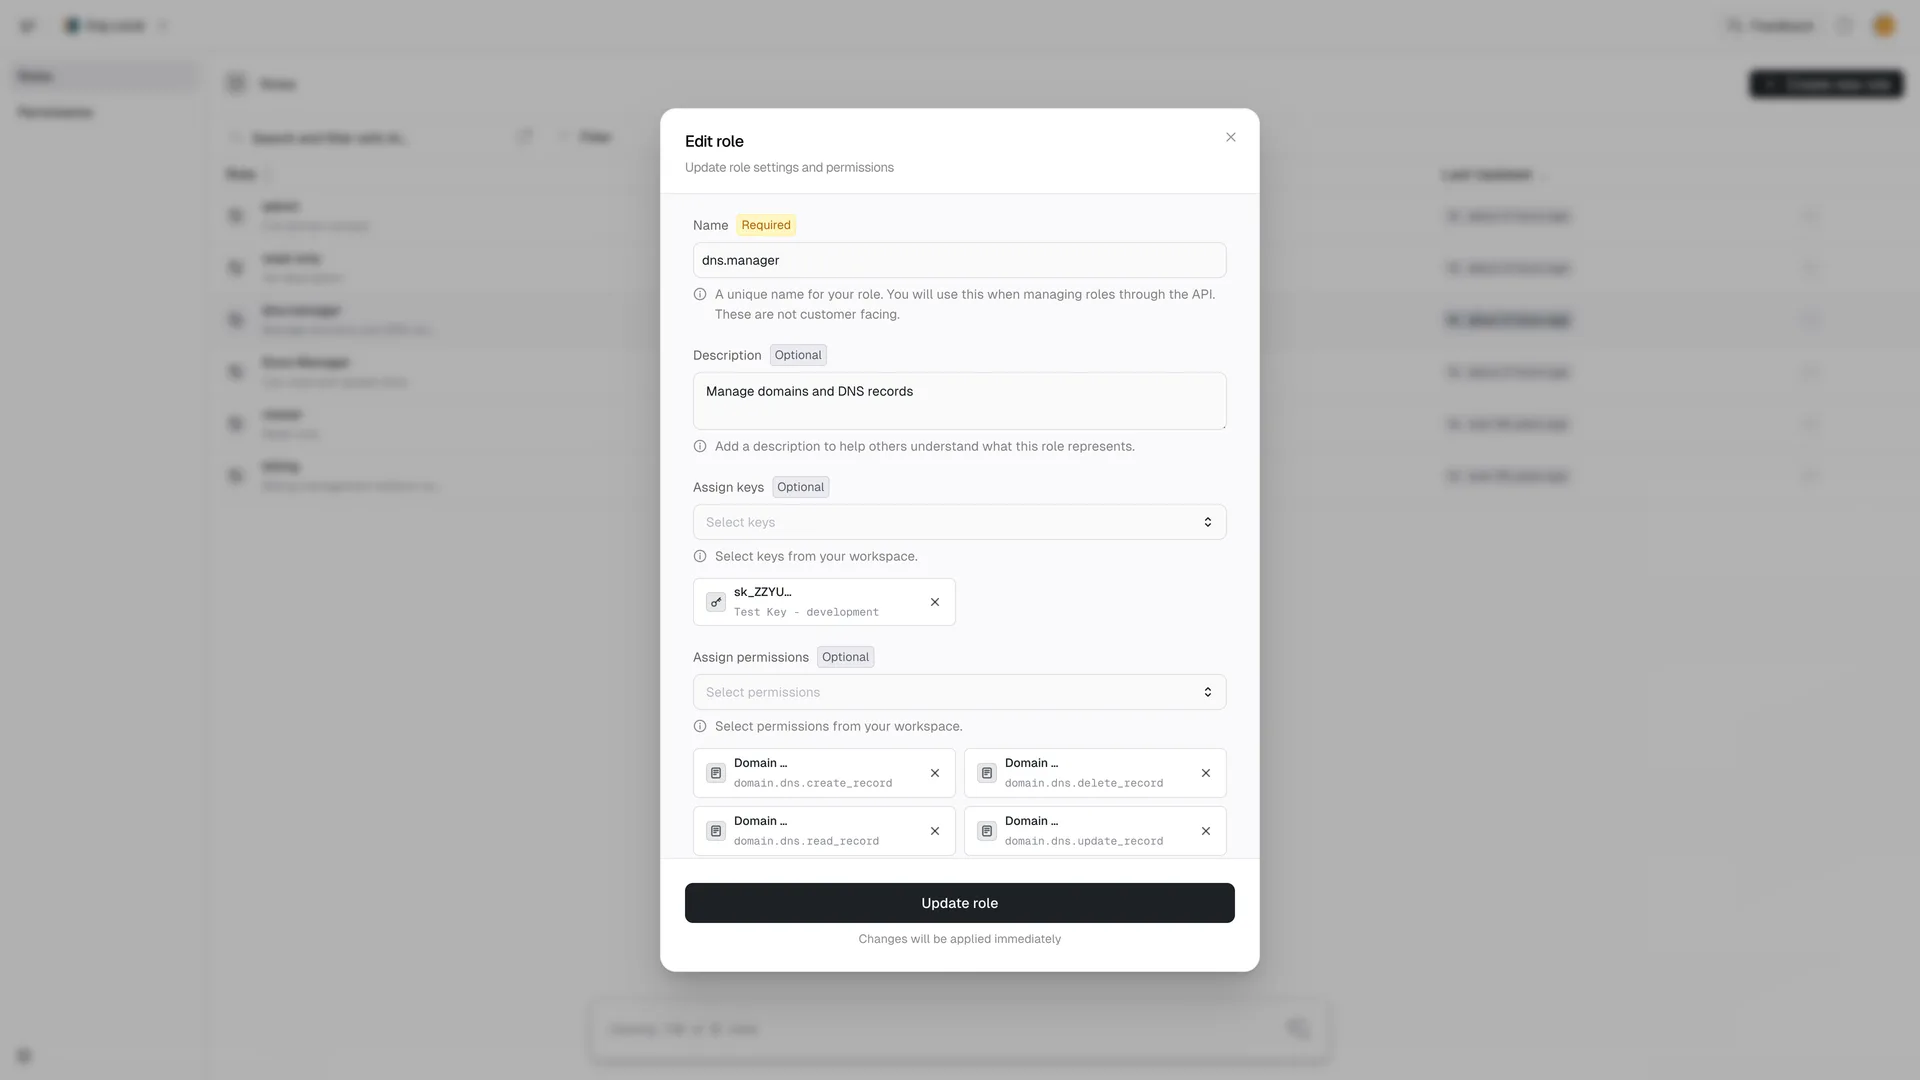
admin: An admin can do everything.dns.manager: Can create, read, update and delete dns records but not access the domain itself.read-only: Can read domain or dns record information.
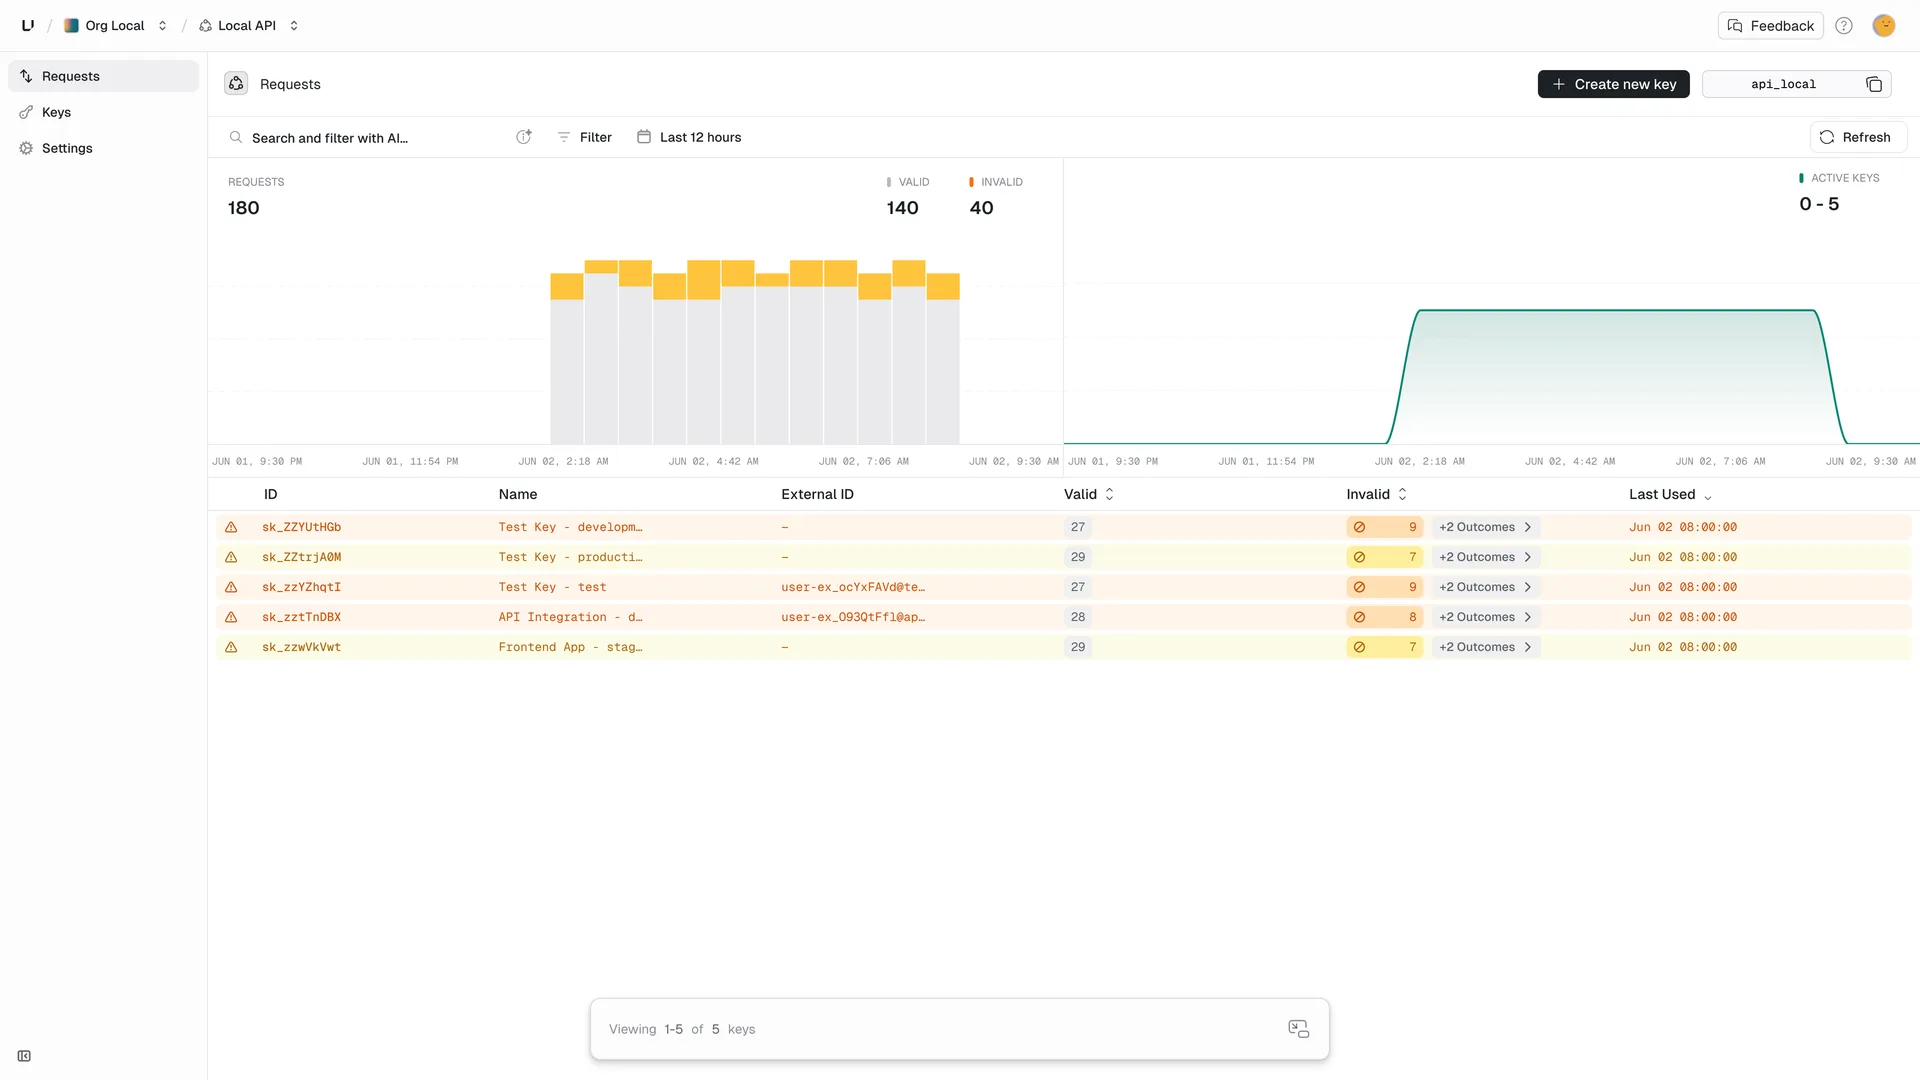
Create them in your Authorization/Roles page. Use the button in the upper right. + New role
Connecting#
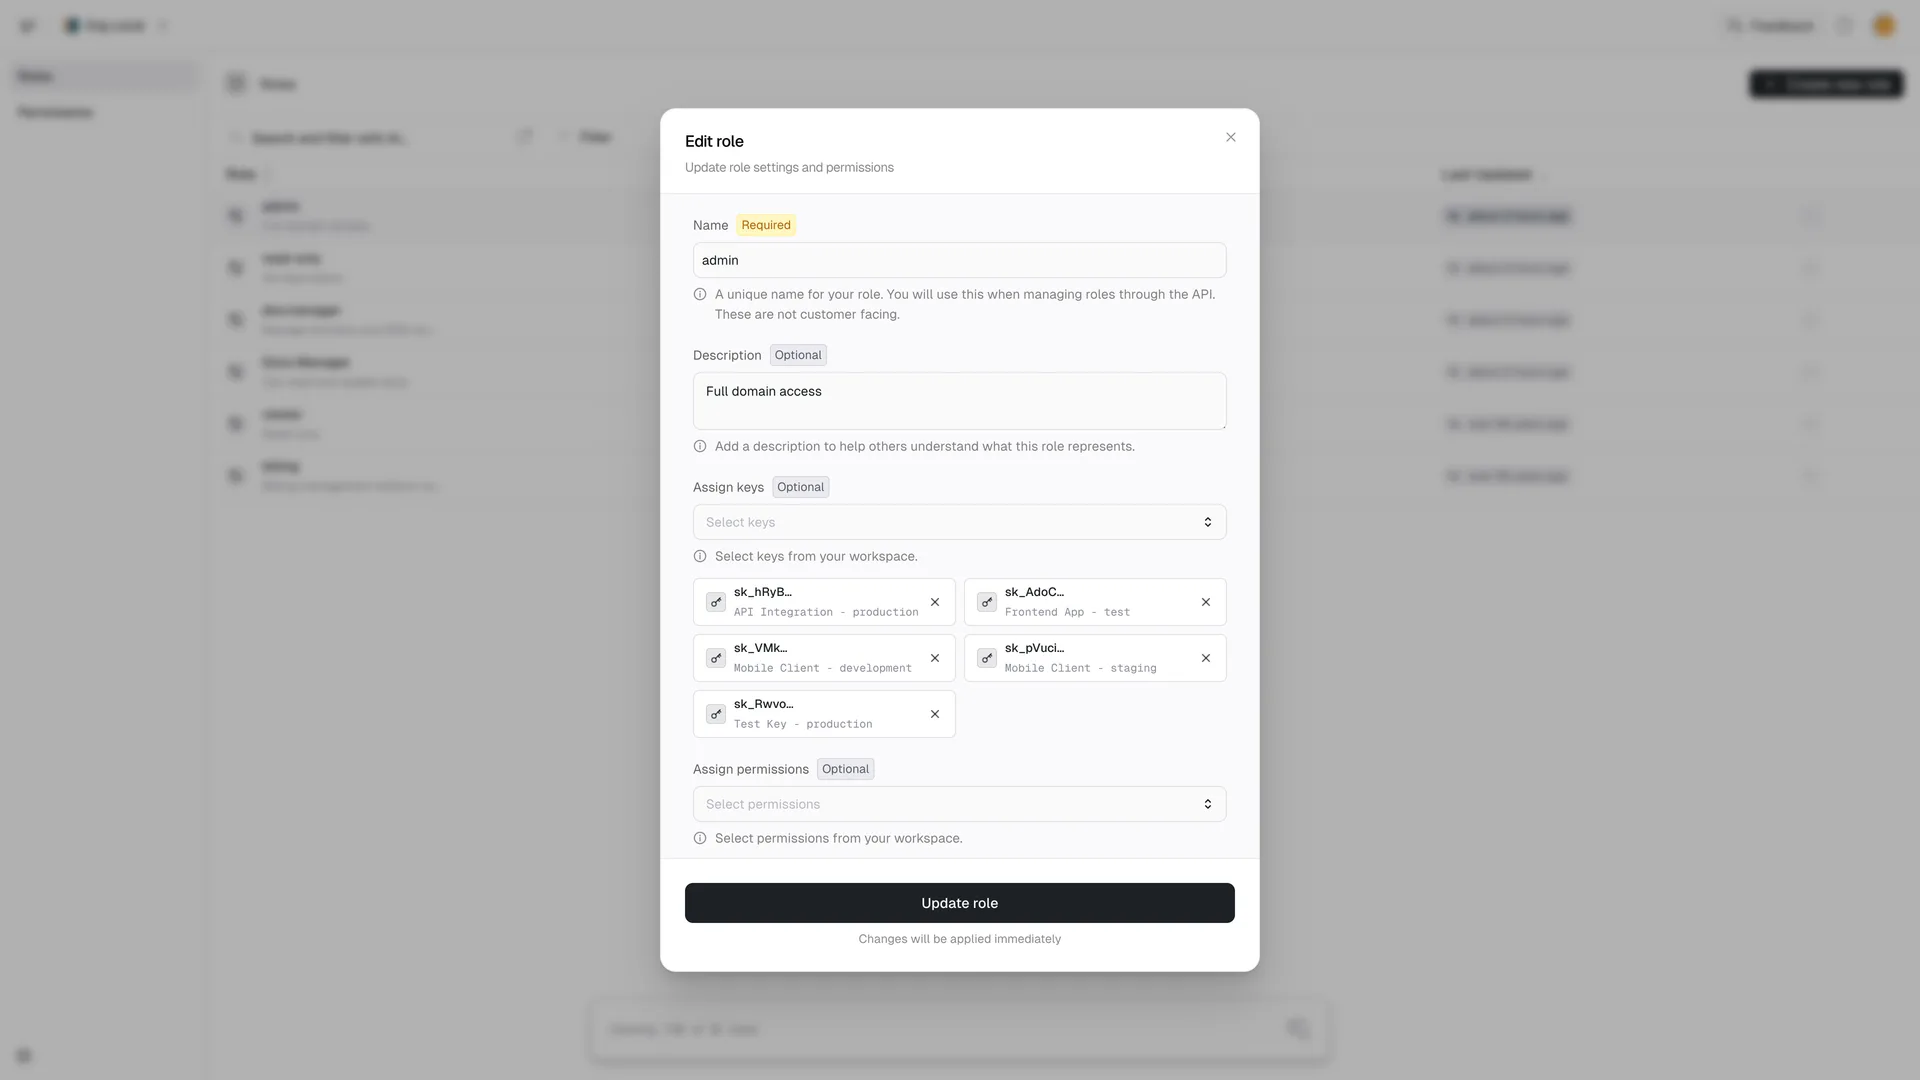
For each role, we need to connect the permissions it should have.
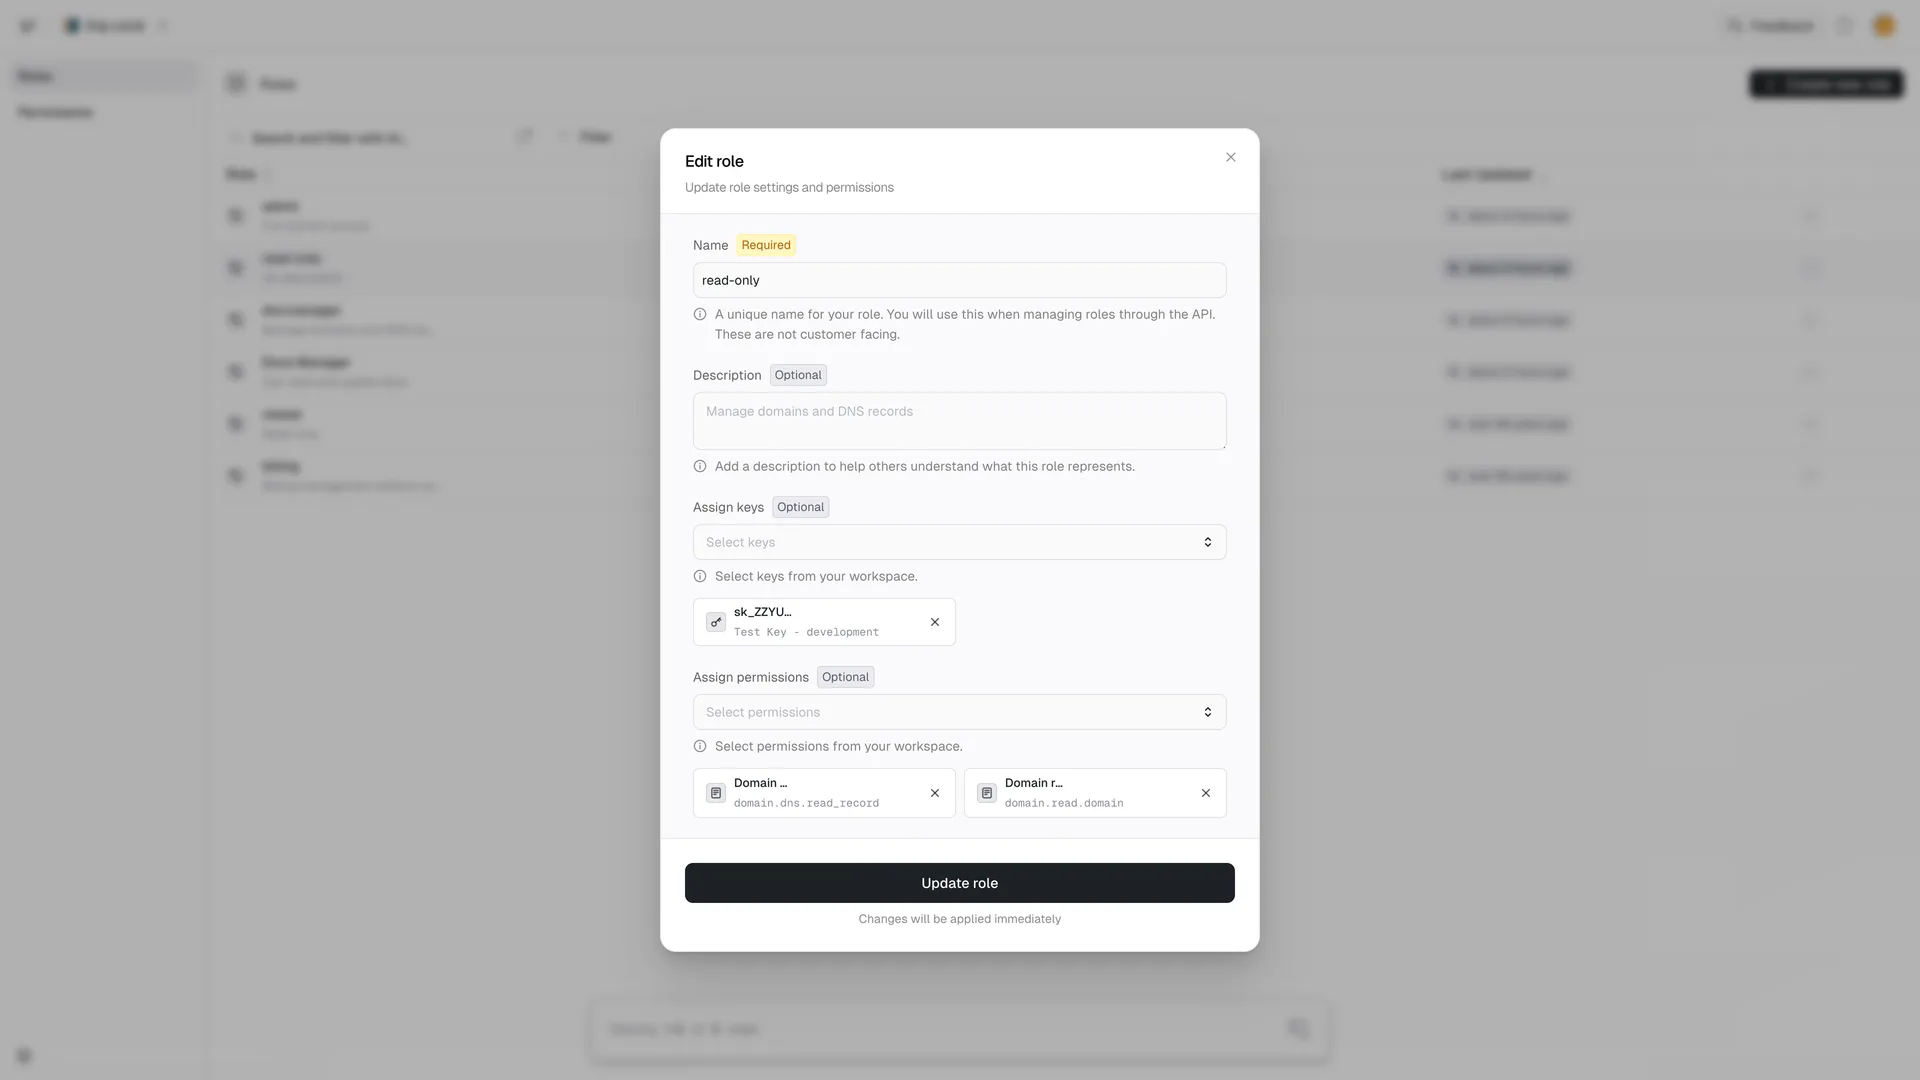
Connect a key
Now that we have permissions and roles in place, we can connect them to keys.
-
In the sidebar, click on one of your keyspaces
-
Next click on keys in the expanded keyspace you selected.
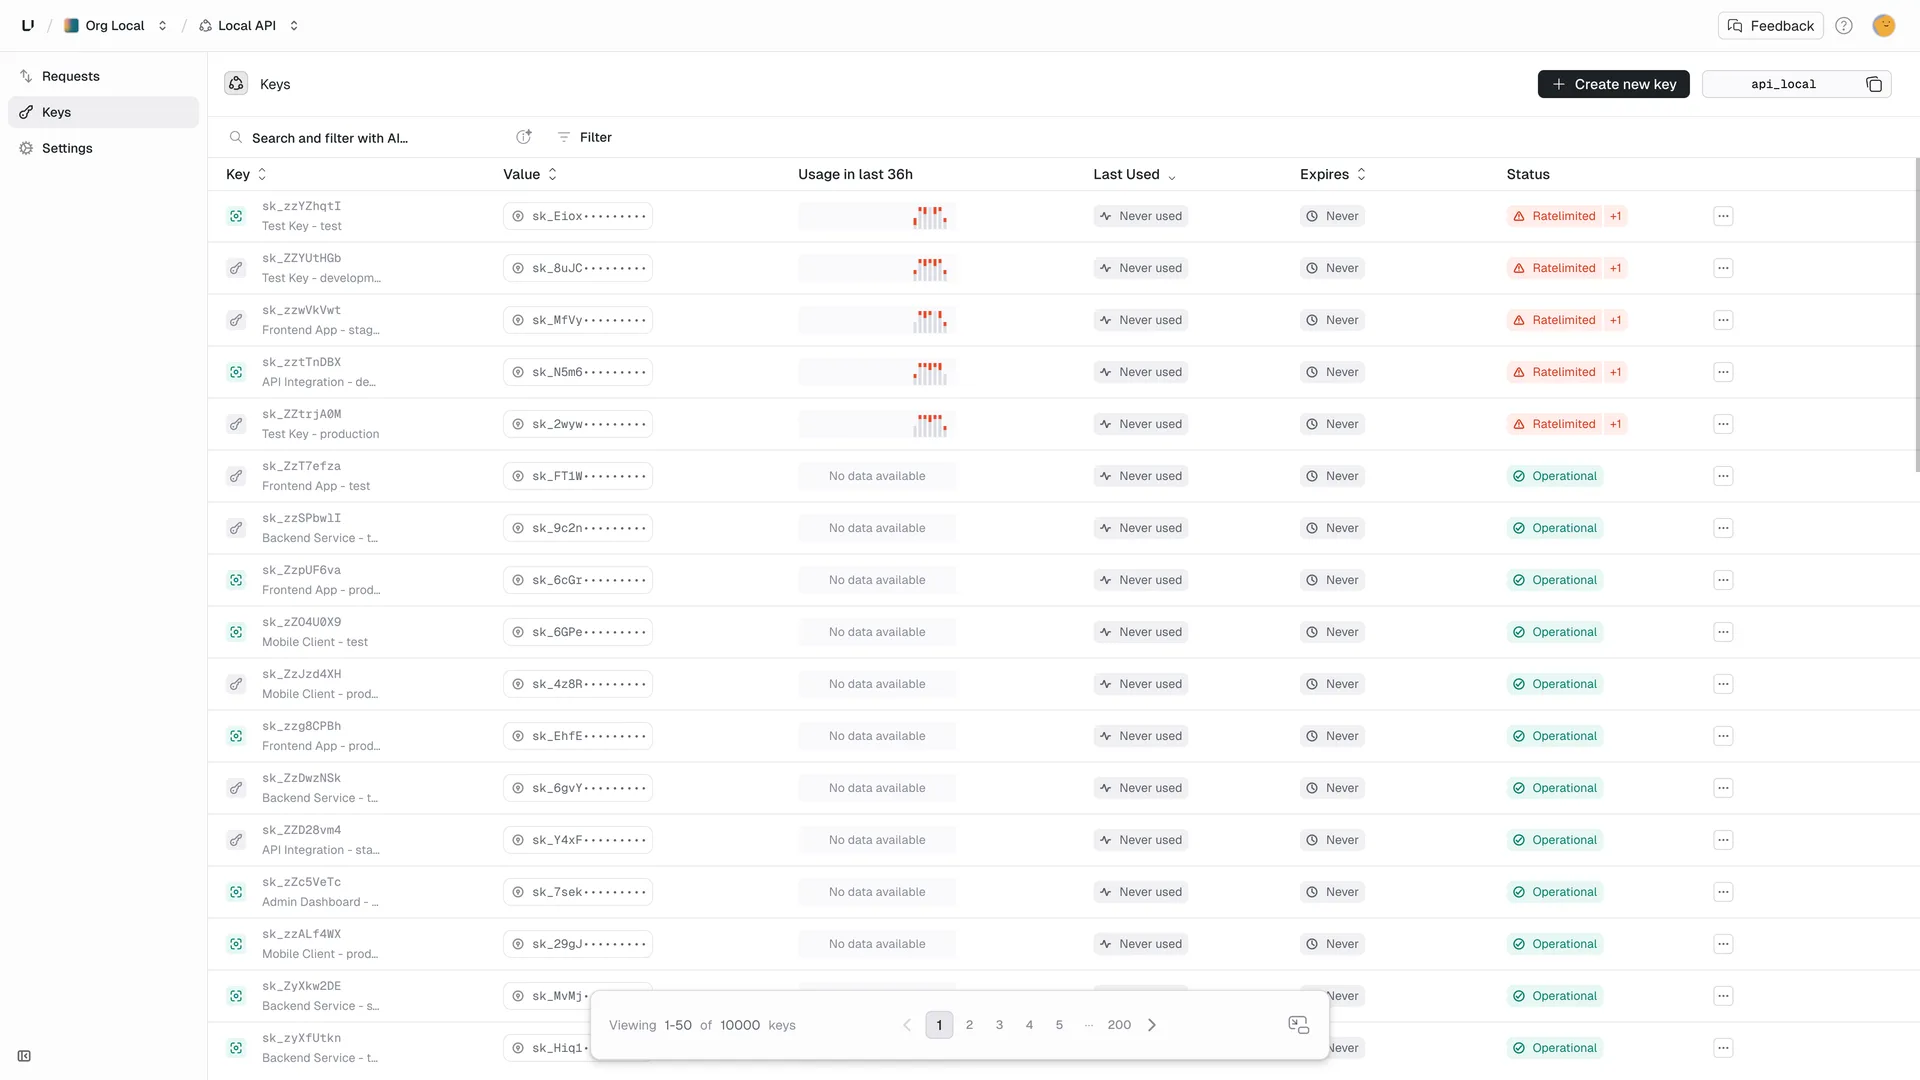
-
On the key you want to use, click on the action menu (
...) at the end of that table row. -
Select
Manage roles and permissions...
- You can connect a role to your key by using the
Assign roleinput. Let's give this key thedns.managerandread-onlyroles.
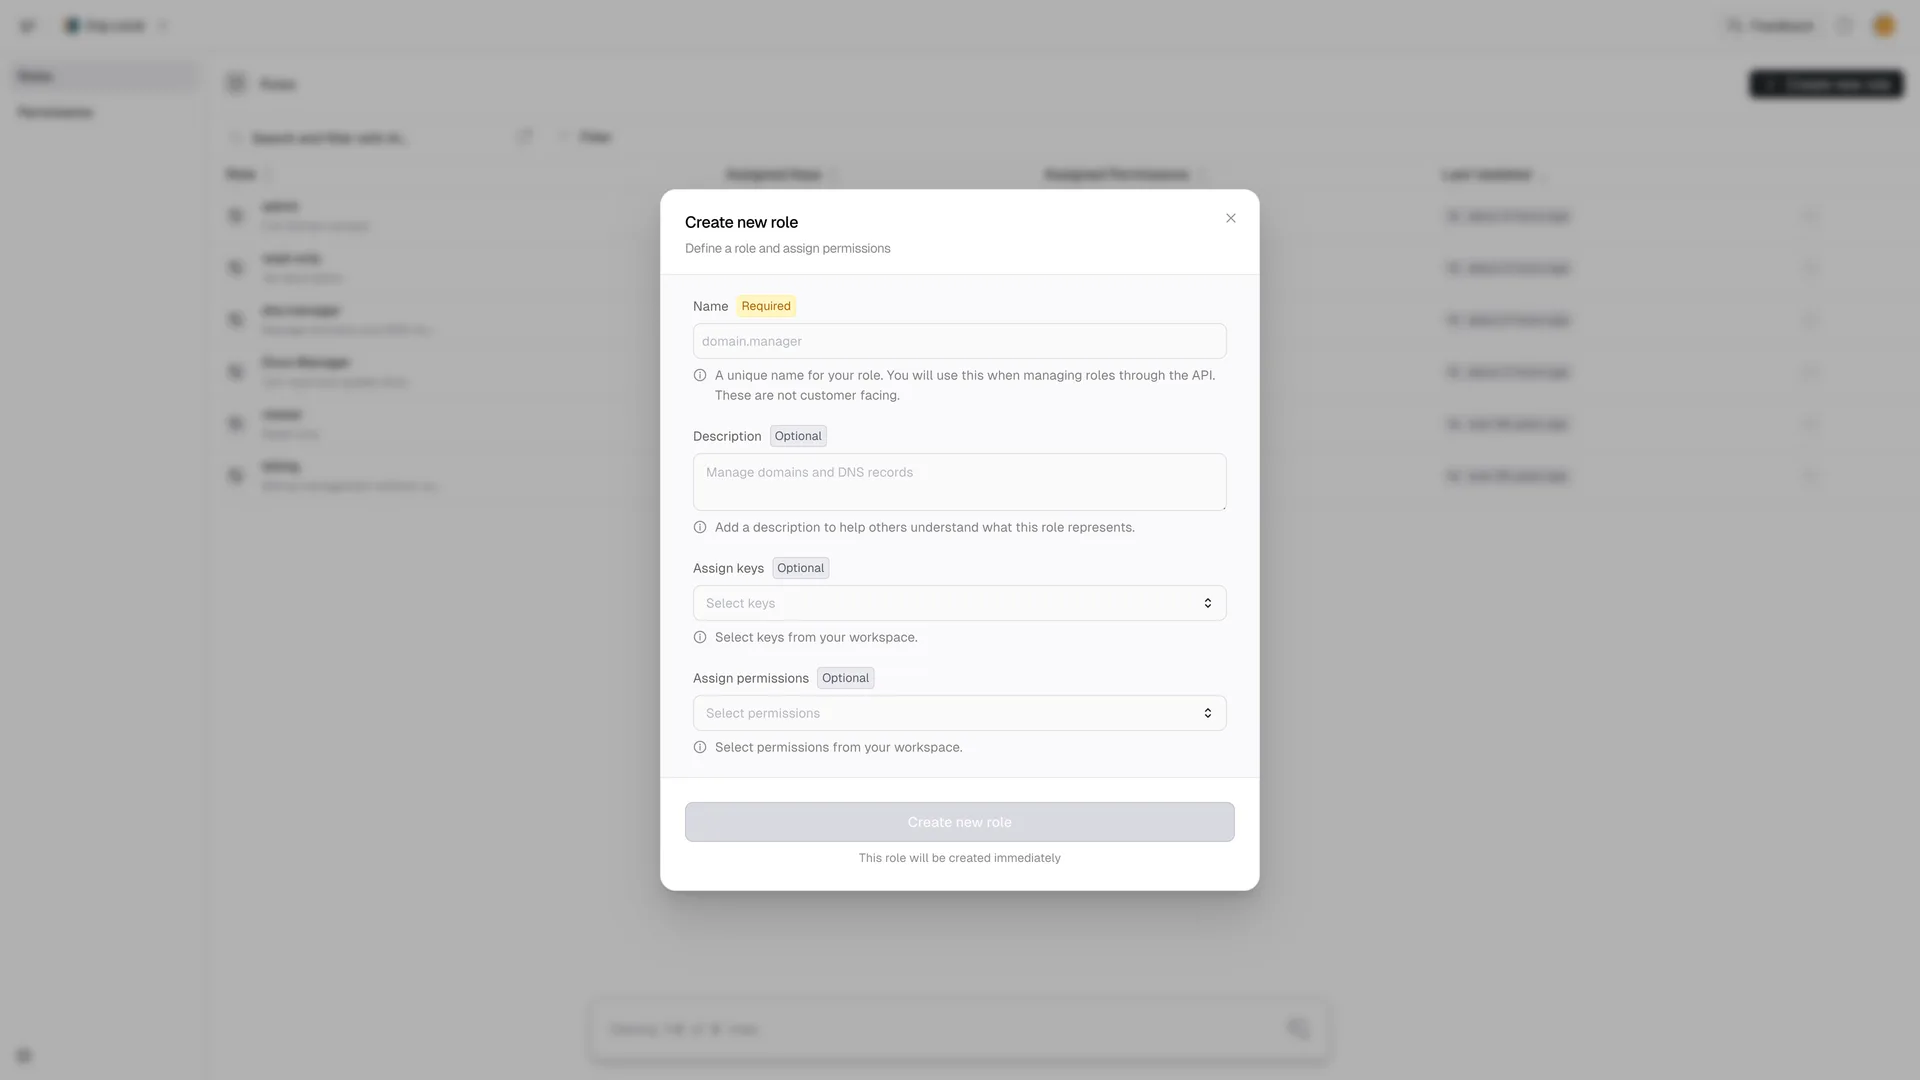
As you can see, the key now contains 2 roles and 5 permissions shown just above the Roles section:
You can attach roles to a key when creating it by providing the role names as an array:
See the API reference for details.
Verifying Permissions
Now you can verify this key and perform permission checks. Read more